Category: Uncategorized

  • [How to] Wipe Google Search activity history from your account

    [How to] Wipe Google Search activity history from your account

    Google’s new Privacy Policy, allows them to collect the information from your account with your legal consent. Your search results lets Google bots determine your interests and serve the contents accordingly, which includes and not limited to all the services provided by Google. Google’s privacy Policy is somewhat controversial and there is less privacy.

    It is found that even if you delete the “web history” from your Google account, Google doesn’t stop storing information collected by it’s bots for internal usage and to improve users experience. So no matter what you do, you cannot stop Google from determining who you are, what you like, where do you live, your sexual orientation, religion and other sensitive information about you. 

    We don’t know whether the steps mentioned below will help you delete all the information collected by google prior to the new Google’s Privacy Policy, but you can have a shot, Just follow the steps:

    Instructions:

    1. Sign into your Google Account 

    z digitfreak 00401


    1. Go to https://www.google.com/history

    z digitfreak 00397 


    1. Click on 3 dots on the top-right side of the page to reveal the options > Select “delete options” from the drop down list.

    z digitfreak 00398 


    1. In the pop-up window, select radio button next to the “advanced” option > select “All time” when asked to select date, and click on “delete”.

    z digitfreak 00400


     Requirements :

    • Internet Connection
    • A Google Account
    • Ability to follow simple instructions

    Note: Disabling Web History in your Google account will not prevent Google from collecting and storing this information and using it for internal purposes. It also does not change the fact that any information collected and stored by Google could be sought by law enforcement.

    With Web History enabled, Google will keep these records indefinitely; with it disabled, they will be partially anonymized after 18 months, and certain kinds of uses, including sending you customized search results, will be prevented.

  • [How to] Some common pratices to Keep your Laptop healthy

    You love your Gadgets and so does your gadgets in return, by providing the best platform they can. Every Gadget you use does their job, what they are best at and it is your responsibility to keep them healthy.

    Laptops are more delicate objects which performs jobs which are impossible without them. You get most of your work done by it and it never complains, except in some situation where you are the only one “guilty”. You have to take care of it at all situations and not to act lazy.

    Here are some common pratices you can adapt to  take care of your Laptop (or any other similar Gadget):

    • Keep it clean: When you get your new gadget you keep it as if it’s a “King of the world” and after few months it’s your “servant”? You have to change this attitude. Your gadget is your property and it is your responsibility to keep it clean. Always clean your gadgets twice a month for longer life span, cleaner you keep it longer it will be available for you and do your dirty jobs done.  Clean your battery’s metal contacts every couple of months with a cloth moistened with rubbing alcohol.  This keeps the transfer of power from your battery more efficient.
    • Do not use improper sanitation: ok, i am getting little into vacubular disaster, but you have to understand how delicate your gadgets are. They seem tough from outside but are never from inside. Never use manufactured detergents or any other similar household cleaner which contains acetone, ammonia, or alcohol, it can ruin the beautiful coating on your laptop or any other gadget.
    • React to the accidents immediately: You dropped your laptop, spilled water on it, bumped it on the desk or it is just banged against the wall, always react to such situations immediately. When you bump your laptop on the floor or spilled water on it, immediately remove the battery and check if anything damaged from the outside or clean the water immediately and make it dry (using your hair dryer or just the natural sunlight will do). Never act lazy. Some people suggests that you can place your laptop in a bag of rice, which helps soaking the water.
    • Never leave your laptop unattended for longer: You don’t use your laptop at regular intervals, well that could be the problem, specially when you live at someplace where climate is not stable (sudden temprature drops or environment change). Never leave your laptop in too cold or too hot situation, it might crash your harddisk. Yes you heard it right. Your hard drive can expand and fail in the heat and freeze in the cold if left unattended. Just like liquid, heat, cold, and your laptop are not good bedfellows. Not only do hot and freezing temps suck the life out of your battery, but they also cause damage to your internal components.
    • Always use Shutdown button: Some people just put their laptop on hibernation or standby mode. Well these options can come handy at some situations when you are in a hurry, but making it a habbit isn’t a good step for your laptop. Always use proper “Shut Down” process after work, which can help protect your internal delicate components.
    • Use Anti-Virus: Some people thinks if they are not using the internet or are just so careful they won’t need an Anti-virus to protect their laptop or computers. Well, this assumption is totally wrong. You must have a gatekeeper to protect your castle, it is not like your home where you live. Your computer stores sensitive data and some personal stuffs which you won’t like the world to see. For such purpose their must be a proper Anti-virus installed on your computer or laptop (DigitFreak suggests “Kaspersky Internet security 2012”). Some virus or malwares are capable of destroying your hard disk or other internal componetns, so better protect it. 
    • Defrag regularly:  The faster your hard drive does its work – less demand you are going to put on the hard drive and your battery.  Make your hard drive as efficient as possible by defragging it regularly. (but not while it’s on battery of course!) Mac OSX is better built to handle fragmentation so it may not be very applicable for Apple systems.
    • Dim your screen: Most laptops come with the ability to dim your laptop screen.  Some even come with ways to modify CPU and cooling performance.  Cut them down to the lowest level you can tolerate to squeeze out some extra battery juice.
    • Protect your investment:  If you’re going to be lugging a laptop around, make sure it’s protected in a padded case.
    • Cut down external devices: USB devices (including your mouse) & WiFi drain down your laptop battery.  Remove or shut them down when not in use.  It goes without saying that charging other devices (like your iPod) with your laptop when on battery is a surefire way of quickly wiping out the charge on your laptop battery.
  • How to make a bootable Windows USB anytime!  [windows and ubuntu platforms]

    How to make a bootable Windows USB anytime! [windows and ubuntu platforms]

    The only way to do was through a bootable pen drive carrying windows. I thought that I knew the method to do that but when I tried it all failed. I even looked for the method online but all I could find were complicated ones and required a software or two. Another trouble added to the heap was that they were all from windows point of view but as a user of ubuntu I was stuck there.

    Through this tutorial you can make a windows bootable pen drive anywhere anytime. It is so simple that now I think that I already knew it. yeah actually this was the method I kept forgetting and now when I remember it I can share it with you all.

    steps you need to follow :-

    1. Get a USB drive first but the drive must have space for the setup of windows you are intrested in making a bootable version of. For example if you wish to make a bootable USB for windows 7 then the USB must be of 4GB or above capacity as the setup size of windows 7 is about 3GB.

    windows 1windows 2
    2.
    Format the particular USB drive into NTFS partition.If you don’t know how to do that the following steps will lead you to it in windows platform:-
        – Go to “My Computer” and select the USB drive you have connected in the system.
        – Right click on the USB drive and select “Format”.
        – A window opens up where you can select the type of partition you wanna format that pen drive into. Select “NTFS” from the file system option.

        – Click on “Format” and you are done.

    If you are an ubuntu user then you need to follow the following steps:-
         – Open your “disk utility” by searching it through the ubuntu dashboard.
         – There select your USB drive from the left-hand side panel.
         – Now in the right pane click on “Unmount Volume”
         – Next click on the “format volume” button. A new window will come up where select the partition type as NTFS and format your drive through the wizard. If your formatting is done then you are also good to go to the next step.

    Now your USB drive is formatted in NTFS partition type we can move towards the third and final step.

    ubuntu 1ubuntu 2ubuntu 3
    3.
    For the last and final step of this tutorial you need to have the setup of the respective windows version, or you can even have the disc of that version. Just copy the whole setup of the operating system from that folder or CD and paste it into the USB drive. Don’t put the setup inside any folder inside the USB stick, just it paste it openly into the drive.


    If you wish to use the left over space in the drive for carrying something then you can make any folder inside the drive and put the content there.
    So it is as simple as that. Your bootable pen drive for windows is ready. Just restart your pc and boot from the drive using boot menu and you can now install windows on that pc without any worries. And also for your information i would like to add that this method is not limited to those who don’t have DVD drives but should be used by everyone as the installation process speeds up and your disk is also not scratched much.


    requirements:-

    1. A USB drive that has enough capacity to hold the setup files of windows.

    2. The installation disc or copied files of the same disc of windows.


    Hope this tutorial solves all your troubles, as it clearly solved all of mine. If not then you can ask for any other help from us freaks here as Digitfreak is always here to help you out when you are in a digital puddle. Feel free to write your views below.

  • How to Connect With DigitFreak via Email, RSS and Social Media

    DigitFreak has grown immensely since it was launched in humble middle of 2011. As we continue to move from a niche blog to a full-fledged news site, the topics we cover and the ways readers connect with us are changing.

    You can now find DigitFreak articles under ten channels: Social Network, Tech, Gadgets, Entertainment US & World. Reviews, How to Stuffs, security, Internet Buzz, Software. Most of them have a set of subtopics, such as Gaming and movie under Entertainment and Hactivities and Computer security under security, so you can dive deeper into more specific coverage areas.

    With this restructuring of DigitFreak content comes a change in our presence on the social web. While many readers visit the website directly or subscribe to our RSS feed, others prefer to read news via daily emails or Twitter and Facebook pages. Now that we’ve aligned our social accounts to match our new site topics, we thought we’d let you know how to find us however works best for you.

  • How to improve Wi-Fi speed on iPhone/iPad/Ipod using Faster DNS

    How to improve Wi-Fi speed on iPhone/iPad/Ipod using Faster DNS

    You have a super high-speed connection and you are using it for all your browsing and content transfers. Are you frustrated of slow wi-fi connection on your iPhone/iPad/iPod? No matter what you do nothing gets you the full speed over the wireless network. But there are the ways, using which you can improve your wireless connection. 

    Here we will use Faster DNS to improve our wireless network efficiency a bit. For those who don’t know what DNS is : DNS stands for Domain Name System. The Domain Name System (DNS) is a hierarchical distributed naming system for computers, services, or any resource connected to the Internet or a private network. It associates various information with domain names assigned to each of the participating entities. Most importantly, it translates domain names meaningful to humans into the numerical identifiers associated with networking equipment for the purpose of locating and addressing these devices worldwide.

    Steps:

    1.  open Settings and Click on WiFi.

    2. Select the network for which you want to set Custom DNS.

    3. Tap the Numbers in DNS and write the custom DNS server.

    You can add different DNS Address, you can use NameBench on your Windows, Mac or Linux Computer to find out the best suitable DNS address according to geographical position. However, two DNS servers are very much reliable and faster.

    you can use them alternatively:

    Cloudflare DNS Servers: 1.1.1.1 and 1.0.0.1
    Google DNS servers: 8.8.8.8 and 8.8.4.4
    OpenDNS servers: 208.67.222.222 and 208.67.220.220


    #Tip:

    This is particularly useful for the users who have older devices such as iPhone 2G , 3G but it may be help for iPhone 4/4S/iPad 2 and above.

  • Want to download files using IDM in Ubuntu, huh?

    Want to download files using IDM in Ubuntu, huh?

    A Few nights ago, I was searching for porn on internet (For which I am very popular!) and I found a great kickass video which I needed to download. Fortunately, I got the direct link for that video, but the file size was too big and I knew that if any interruptions happened then I will not be able to resume my download again.

    Then my search for a resumable GUI Download manager started. At the beginning when i shifted to Ubuntu, like all the other desperate windows users I also tried to install IDM using wine but failed. Very little did I know that the real solution was hidden within the same software. It was the start of my mission and That night I was searching for this kind of software everywhere. In Ubuntu software center, I even found an app named ‘kget’ with the same facilities like resumable download and all that usual shit but it was too big for my Urgent need. Finally, I started feeling hopeless that I would not be able to download this porn, and would forever miss this one.

    I don’t know how but I felt the urge to crawl online for any other methods or ways to download the files just the way IDM does. And There it was waiting for me in google’s Advanced search!

    So after all this foreplay what I found is that you can get the same old, same old app named “The great great IDM” working in Linux if and only if you have got wine installed and a setup file of “IDM Version 5.05“.


    Don’t worry if you don’t have it then I will get you there. I know that you are getting more desperate as i write each extra word. Without further ado, Click here if you want to download IDM v5.05(of course you do!). Don’t worry i am not kidding and also the file size is only 2 mb!

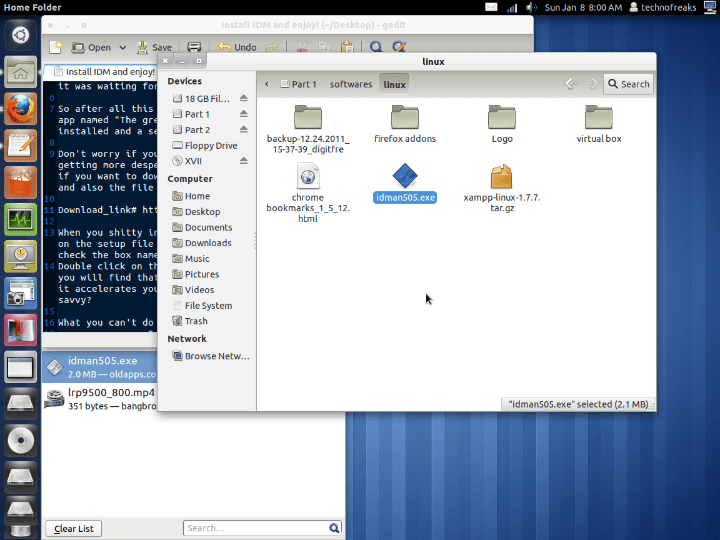
    Download_link# http://download.oldapps.com/IDM/idman505.exe

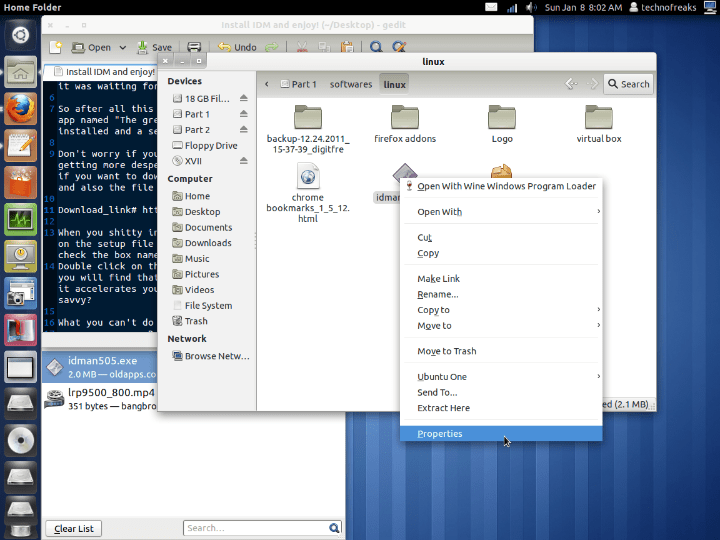
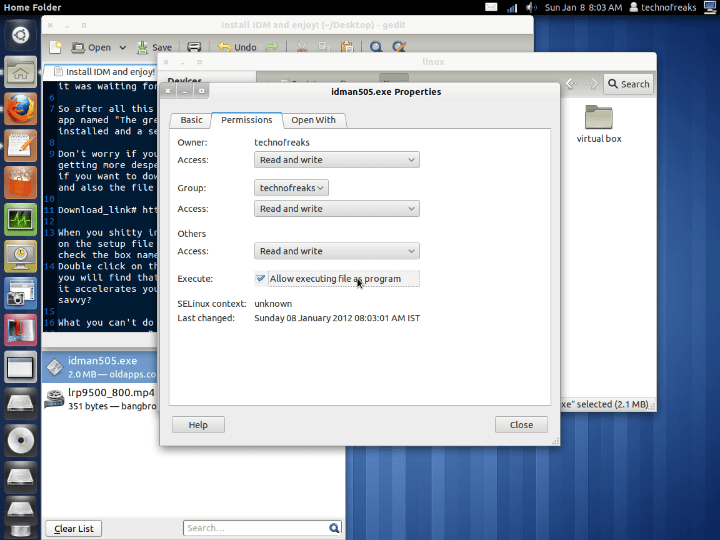
    After you shitty internet connection is done with this download, then right-click on the setup file and go in the properties menu. There under permissions tab, check the box named ‘allow executing file as a program‘.

    123

    And you are good to go.
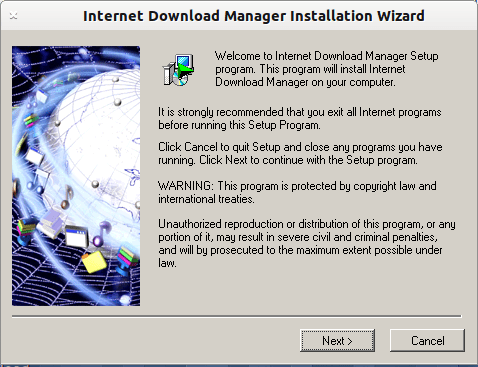
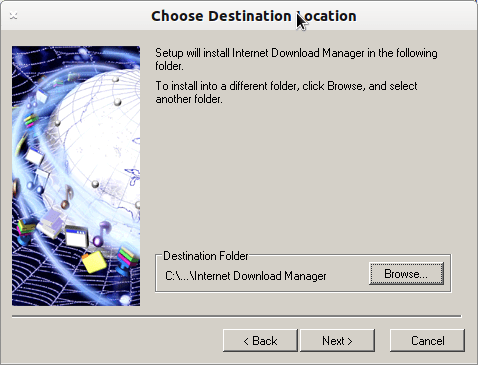
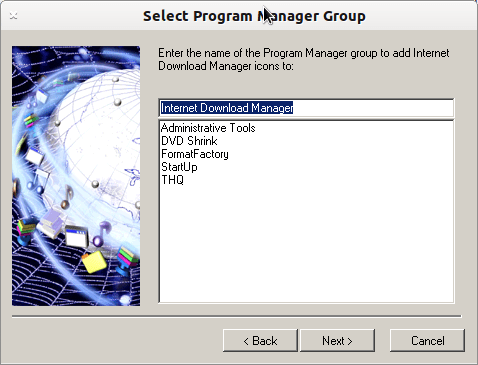
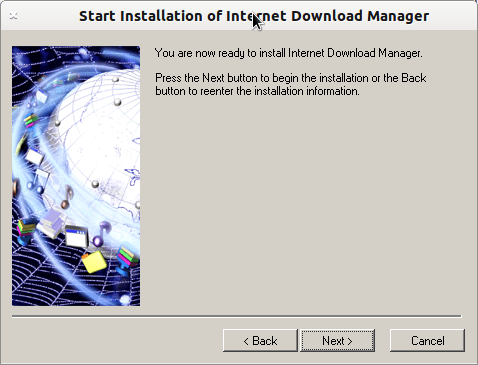
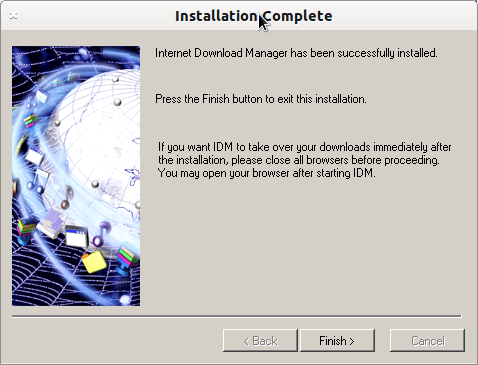
    Double click on the IDM setup and go through the normal installation process and you will find that it’s working just the same way. On top of that I found out that it accelerates your download speed up to twice as it did in my case! Isn’t that savvy?

    abc
    def

    If you don’t know where those files are being installed, don’t worry. There are here. Make a copy of the link for that folder if you wish on your desktop. Go to your home directory and there press ‘ctrl+H’. That’s how you show your hidden files in Ubuntu. Look for a directory named ‘.wine’. Inside that directory  you will see two folders. Open the folder named ‘drive_c’. You are now in your fake windows system drive and you see the familiar folders like windows and program files. Inside the program files you can find the installed files of any software that you have installed through wine.

    What you can’t do in this Forced installation?
    Don’t be afraid!, its not like i am gonna write that you won’t be able to download anything at all, just to see the IDM window. lol!. Now You don’t have the download panel property in this version. So you will need to have a direct download link to download any file. Also Even if you try to Force any download using the ‘force download keys‘ option, its all gonna be a waste.

    You will  also need to register this version of IDM if you want to use it longer than one month.

    Ok! Fine. I am going to help you here also, but this is the last time. If you have eyes then you must have noticed something glowing in he text below. It’s not my effing phone number! GOD! you guys are like kids. Thats the registration key for IDM. In the ‘help’ menu of you IDM select the ‘Registration’ option. The registration dialog opens and there insert whatever you wish in the names and email ID, along with the key in the respective boxes(what else did you think were we going to do? huh?). And when you are done you will see that its registered!

    Key# HFLUV-FRUKA-2R7U7-GLHQ1

    hurrah!

    I believe, that after this tutorial(ass whooping) all you of you people are happy and enjoying all the porn, shit! sorry . I mean you are all downloading all that you wish without any interruptions, and time limits. (just the way i enjoyed my night)!


    In the end, let’s take some credits. Let’s see..

    1. You had to download only 2MBs instead of 60MBs! that kget needed you to download.

    2. You enjoy the whole IDM features and registration just for nothing more than your one visit to Digitfreak.

    3. You got introduced to the coolest person alive for free!

    4. And add all the things that you want to thank me for in the list that has no end whatsoever..lol

    “WHY FEAR, WHEN ‘the dude‘ IS HERE” – Timamirrockdude

    [Note: Don’t ask me for that porn video link now! Btw it was really nice and HD sized 232MB only!. Ain’t that great!]