Gnome is getting a great shape and it is now stable and user-friendly. The best thing is that Ubuntu 11.10 + (one of Linux Member) can have the gnome interface without much hassle. There are no special tricks to do the specific job. You just need an internet connection and a brief knowledge (or work experience on Ubuntu OS).
Ubuntu 11.10 finally provides Gnome installation through “ubuntu Software Center.” Curious users who wants to try the new Gnome 3 on their Ubuntu 11.10, can now go through the easy and safe steps to try out and install “Gnome-Shell”.
This means that unlike previous releases of Ubuntu installing GNOME Shell in Ubuntu doesn’t require the addition of any extra ‘software repositories’, or the running of any dubious scripts: it can be installed directly from the Ubuntu Software Centre with a simple click.
Click Here to Install Gnome Shell
Gnome Extra’s
To get the ‘best’ GNOME Shell experience in Ubuntu we should also install a number of additional ‘extras’.
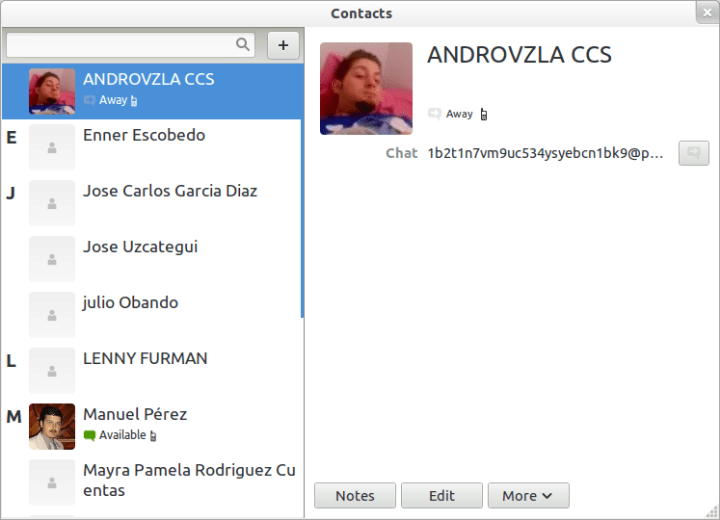
These include GNOME Contacts – a slick Google-integrated address book: –
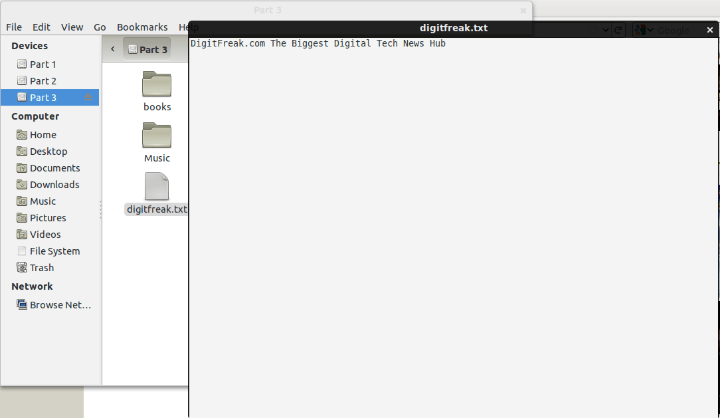
GNOME Sushi is a handy file preview tool integrates into Nautilus (the default file-manager). To preview an image, movie, audio track or text file just select it with your mouse or keyboard then tap the space key once to ‘peek’ inside: –
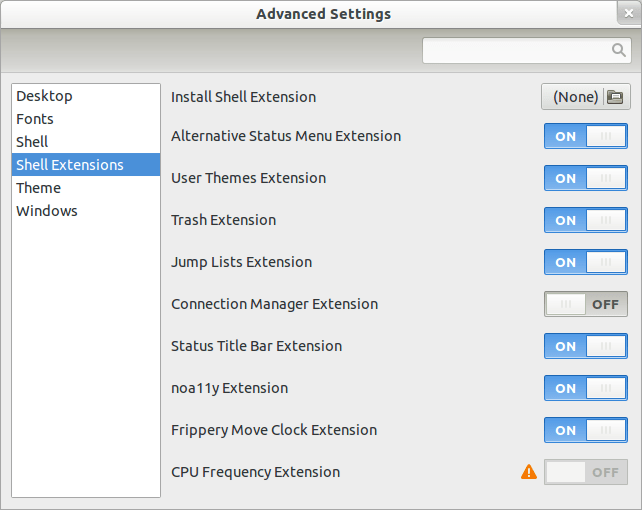
GNOME Tweak Tool lets you tweak the way GNOME Shell behaves. Whether you want to enable icons on the desktop, change the system theme, or adjust system font size, GNOME Tweak Tool lets you do it: –
Click Here to Install Gnome Extras
Once all of the above applications have finished installing it’s time to dive on in to GNOME Shell. Hit the ‘Power Cog’ icon in the top right hand corner and choose ‘Log out’. Be sure to save any work or files before doing this.
Enabling Gnome-Shell
Now It’s time to rock-n-roll. follow the following simple steps toactivate gnome-shell on your Ubuntu 11.10 OS.
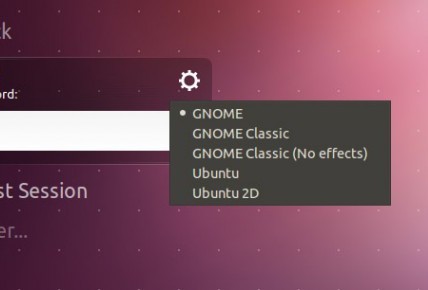
1. At the login screen click the ‘cog’ icon to the right of your username
2. Choose the session you want to log into from the menu. For GNOME Shell you’ll want to select ‘GNOME’
3. Enter your password and login as normal
And That’s it. But wait you might feel that Gnome 3 windows are ugly. Because of black and white tint of colors on the file manager and other windows.
The thing is that you didn’t enable the Gnome Default theme. You are still using the Ubuntu 11.10 “Unity” Theme. So the next step is to change the Default Unity theme to “Adwaita” Gnome Theme. Here’s how:
1. Open ‘System Settings’ from the furthest right-hand menu.
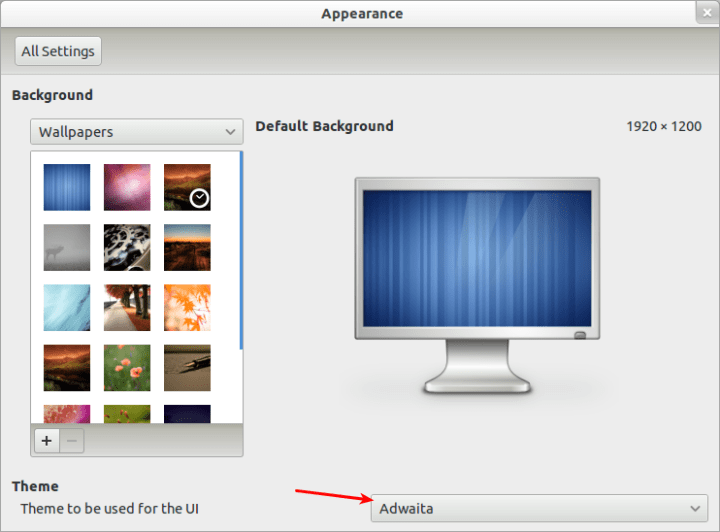
2. In the window that opens we will select the ‘Appearance’ option.
3. From here use the drop-down box at the bottom of the window to choose the ‘Adwaita’ theme.
4. Log out and back in to see the theme take full effect.
Here are some Final ScreenShots, This is what you’ll get on finalized installation.


Note: Some Of the Snapshots shown in this article may be altered by extensions provided Gnome. For e.g. Gnome Has clock and calendar aligned center by default. You can force them to be on the right side as it used to be on Unity environment. You can find extensions for Gnome shell on their Official Website – https://extensions.gnome.orgYou can discover and review gnome on their official website here. -> http://www.gnome.org/gnome-3/
Leave a Reply