The newest Netflix app update in the Play Store has a brief changelog, however what’s there has been a long time coming. That is proper, correct profile reinforce has made its way to Android after being available on just about each other platform, and Netflix customers are going to be extraordinarily chuffed about that reality.
No more managing of a couple of debts, and no more mixing of suggestions when you could have a number of completely different individuals sharing an account or software.
Simply see your most contemporary motion pictures and presentations totally break free the others the use of the account. We’re positive more than a number that you may have been ready for this one — snag the update from the Play Store hyperlink here.
Facebook is the biggest social networking website, which is precisely designed to connect the loved ones and exchange the information and emotions of their life with whom they care about. Today’s life on the fast lane requires an alternative way to keep up with the one you care about, and Facebook provides just that.
However, sometimes it washes away the actual target it is designed for. And this is when you need to hold yourself or let yourself off the edge.
If you really want to enjoy your life without spending your precious time on something which is driving you away from actual reason you joined the network at the first time. We will be discussing about killing off the connection with the Facebook permanently.
How to permanently delete your Facebook Account:
Facebook doesn’t offer direct link to delete your Facebook account. However, you can find “deactivate your account” link under account settings>security section. You can use this option, if you’re not 100% sure that you want to permanently remove all that information.
Back to deleting your account permanently.
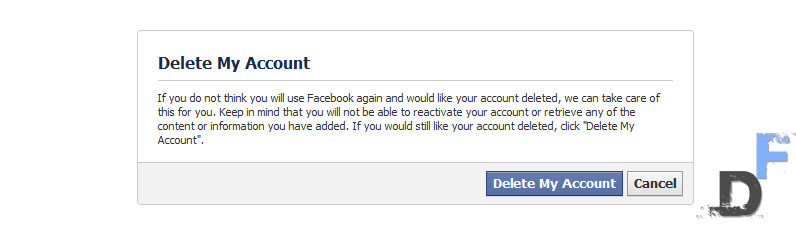
Visit the account deletion page.
You will be reminded that this is a permanent deletion and that your account cannot be reactivated and that none of the content or information you have added can be retrieved.
Click “Submit.” Follow the steps, such as entering your password, email, and CAPTCHA code.
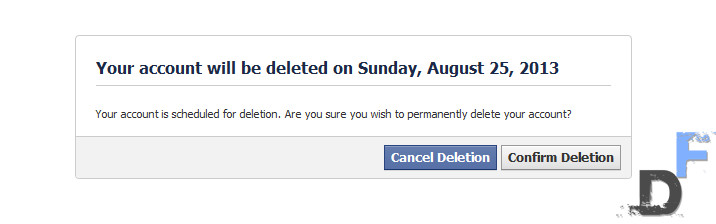
Now, you just need to control yourself “compulsion to use facebook” scenario and try to tell your mind that you are leading to the better path. Do not log in for the next 14 days and your account will be deleted completely.
If you change your mind before the 14 days are up, just log in and this will reactivate your account.
When you login to your account within the 14 days grace period – facebook will ask for confirmation, whether you want to reactivate your account or keep it under the deletion process. But, I will highly recommend that “Don’t” login to your account again!
As with most things online, the site keeps a virtual record of all of your activity. You may not even be aware of it, but every selection you’ve made is documented. There is a way, however, to purge that record permanently. To delete your Netflix viewing history, however, you must cancel your account and then resubscribe.
Update
Unfortunately, Netflix has disabled these features, and there are no official options to remove or hide the recently watched content on your Netflix account apart from removing your account and creating it again. See this update instead:
1. Sign in to Netflix using your username and password.
2. Click on “Your Account & Help” in the upper right-hand corner of the screen. Find the section called “Account Information.” Click on “Cancel Membership.”
3. Read each item carefully and understand that by doing this you will not only be purging your viewing and rental history, but your queue as well. Click the box on the bottom of the page next to the sentence that reads, “I accept and understand the terms of cancellation and want to cancel my account.” Then click “Complete Cancellation.”
Tips
After you have canceled your account, you can resubscribe to Netflix using the same billing information. You can also rebuild your movie queue.
Though this process does not involve much effort, it can require more work to clear your recently watched movie titles if you do not know the correct functions with which to work.
Unfortunately, Some users reported that this feature/instructions are not working anymore. Netflix has disabled these features, and there are no official options to remove or hide the recently watched content on your Netflix account apart from removing your account and creating it again.
Instructions
1. Sign into the Netflix account that you use. Then, click on the “Your Queue” option with your computer mouse.
2. Go to the new page that comes up on your screen. Click on the blue tab that the word “Instant.” Go down the page until you reach the part of the page that displays the instant list, beneath the movies you recently watched portion of the page.
3. Go to “Remove.” Then click the “X” symbol adjacent to the names of movies you desire to remove from your list of recently watched titles.
![[How To] permanently delete your Facebook account and stop killing your precious time](https://digitfreak.com/wp-content/uploads/2013/08/digitfreak_201300000548_temporary_deletion.jpg)